Orchid Care Tips: Best Pot & Soil Mix + Repotting for Healthy Roots

As a new orchid keeper, nothing is more exciting than seeing vibrant unique blooms but what many first-timers discover is that the secret to blooming isn’t just flower care: it starts with strong, healthy roots. Good orchid care hinges on choosing the right pot, using the ideal soil mix, and knowing when and how to repot. Without those, even the most beautiful orchid can suffer root rot, poor growth, or fail to bloom again.
We’re going to teach you everything you need to get your orchids thriving: how to pick the best containers that encourage root health; what soil mixes give the right balance of moisture retention and airflow; the clear signs that your orchid needs repotting; and a step-by-step repotting process that minimizes stress. We’ll also cover common mistakes beginners make and how to avoid them. By the end, you’ll understand what healthy orchid root systems look like, how to support them, and how to give your orchid the strong foundation it needs to grow and bloom beautifully. Let’s dig into orchid care that really works, starting from the bottom up.
Why Root Health Matters in Orchid Care
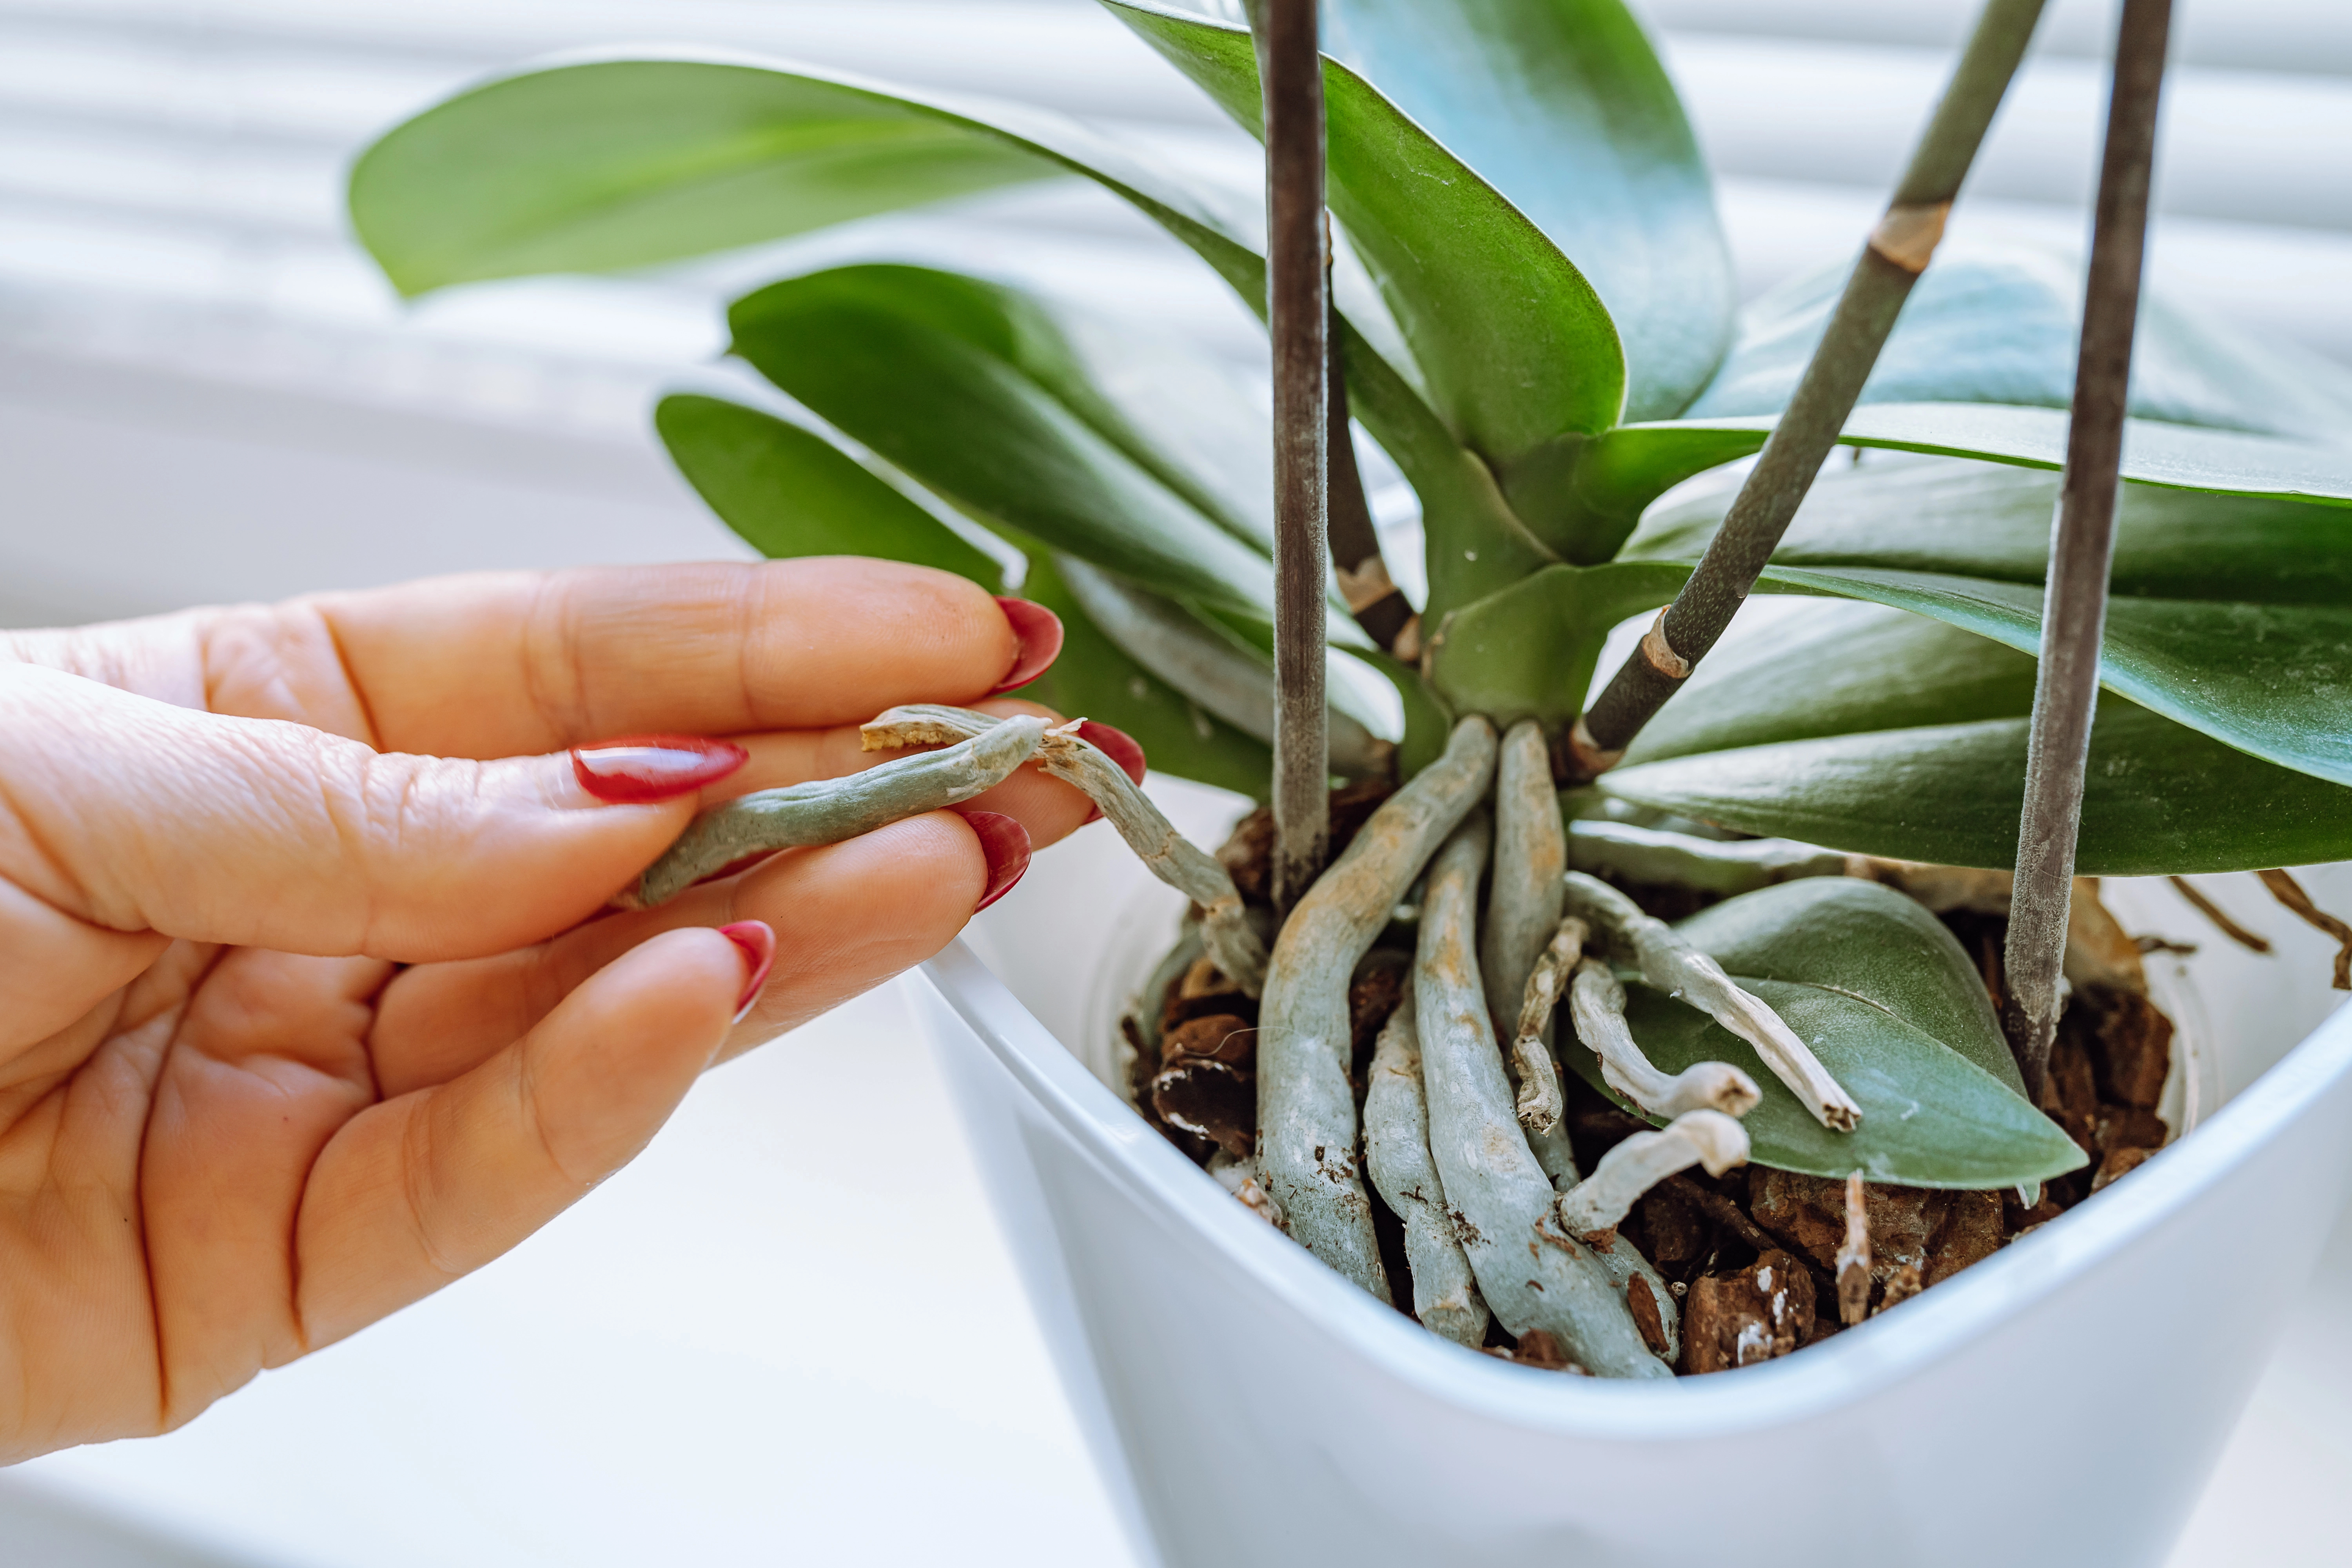
Orchid roots aren’t exactly like other plant roots. Healthy roots absorb water and nutrients, anchor the plant, and in many epiphytic orchids, help photosynthesize (especially when exposed to light). Without healthy roots, orchids can’t grow leaves, support flower spikes, or recover from stress.
For new orchid keepers, root health is your earliest indicator of how well your care routine is working. For example, green or pale green root tips mean active growth; silvery or grey roots often mean the plant is dry; brown and mushy roots point to overwatering or root rot.
Poor roots lead to many problems: wilting leaves, drop-offs, failure to bloom, fungal and bacterial infections. Even a bloom will be weak unless the root system is supplying adequate resources.
Many beginners treat leafy appearance first, but leaves are downstream. A plant can have lush leaves and still be in trouble if root health is compromised. If roots are good, leaves, flowers, overall vigor almost always follow. So when something seems wrong start by inspecting the roots.
Understanding Orchid Growth Habits & Natural Conditions
To choose the right pot and soil mix, it helps to know how orchids grow in the wild.
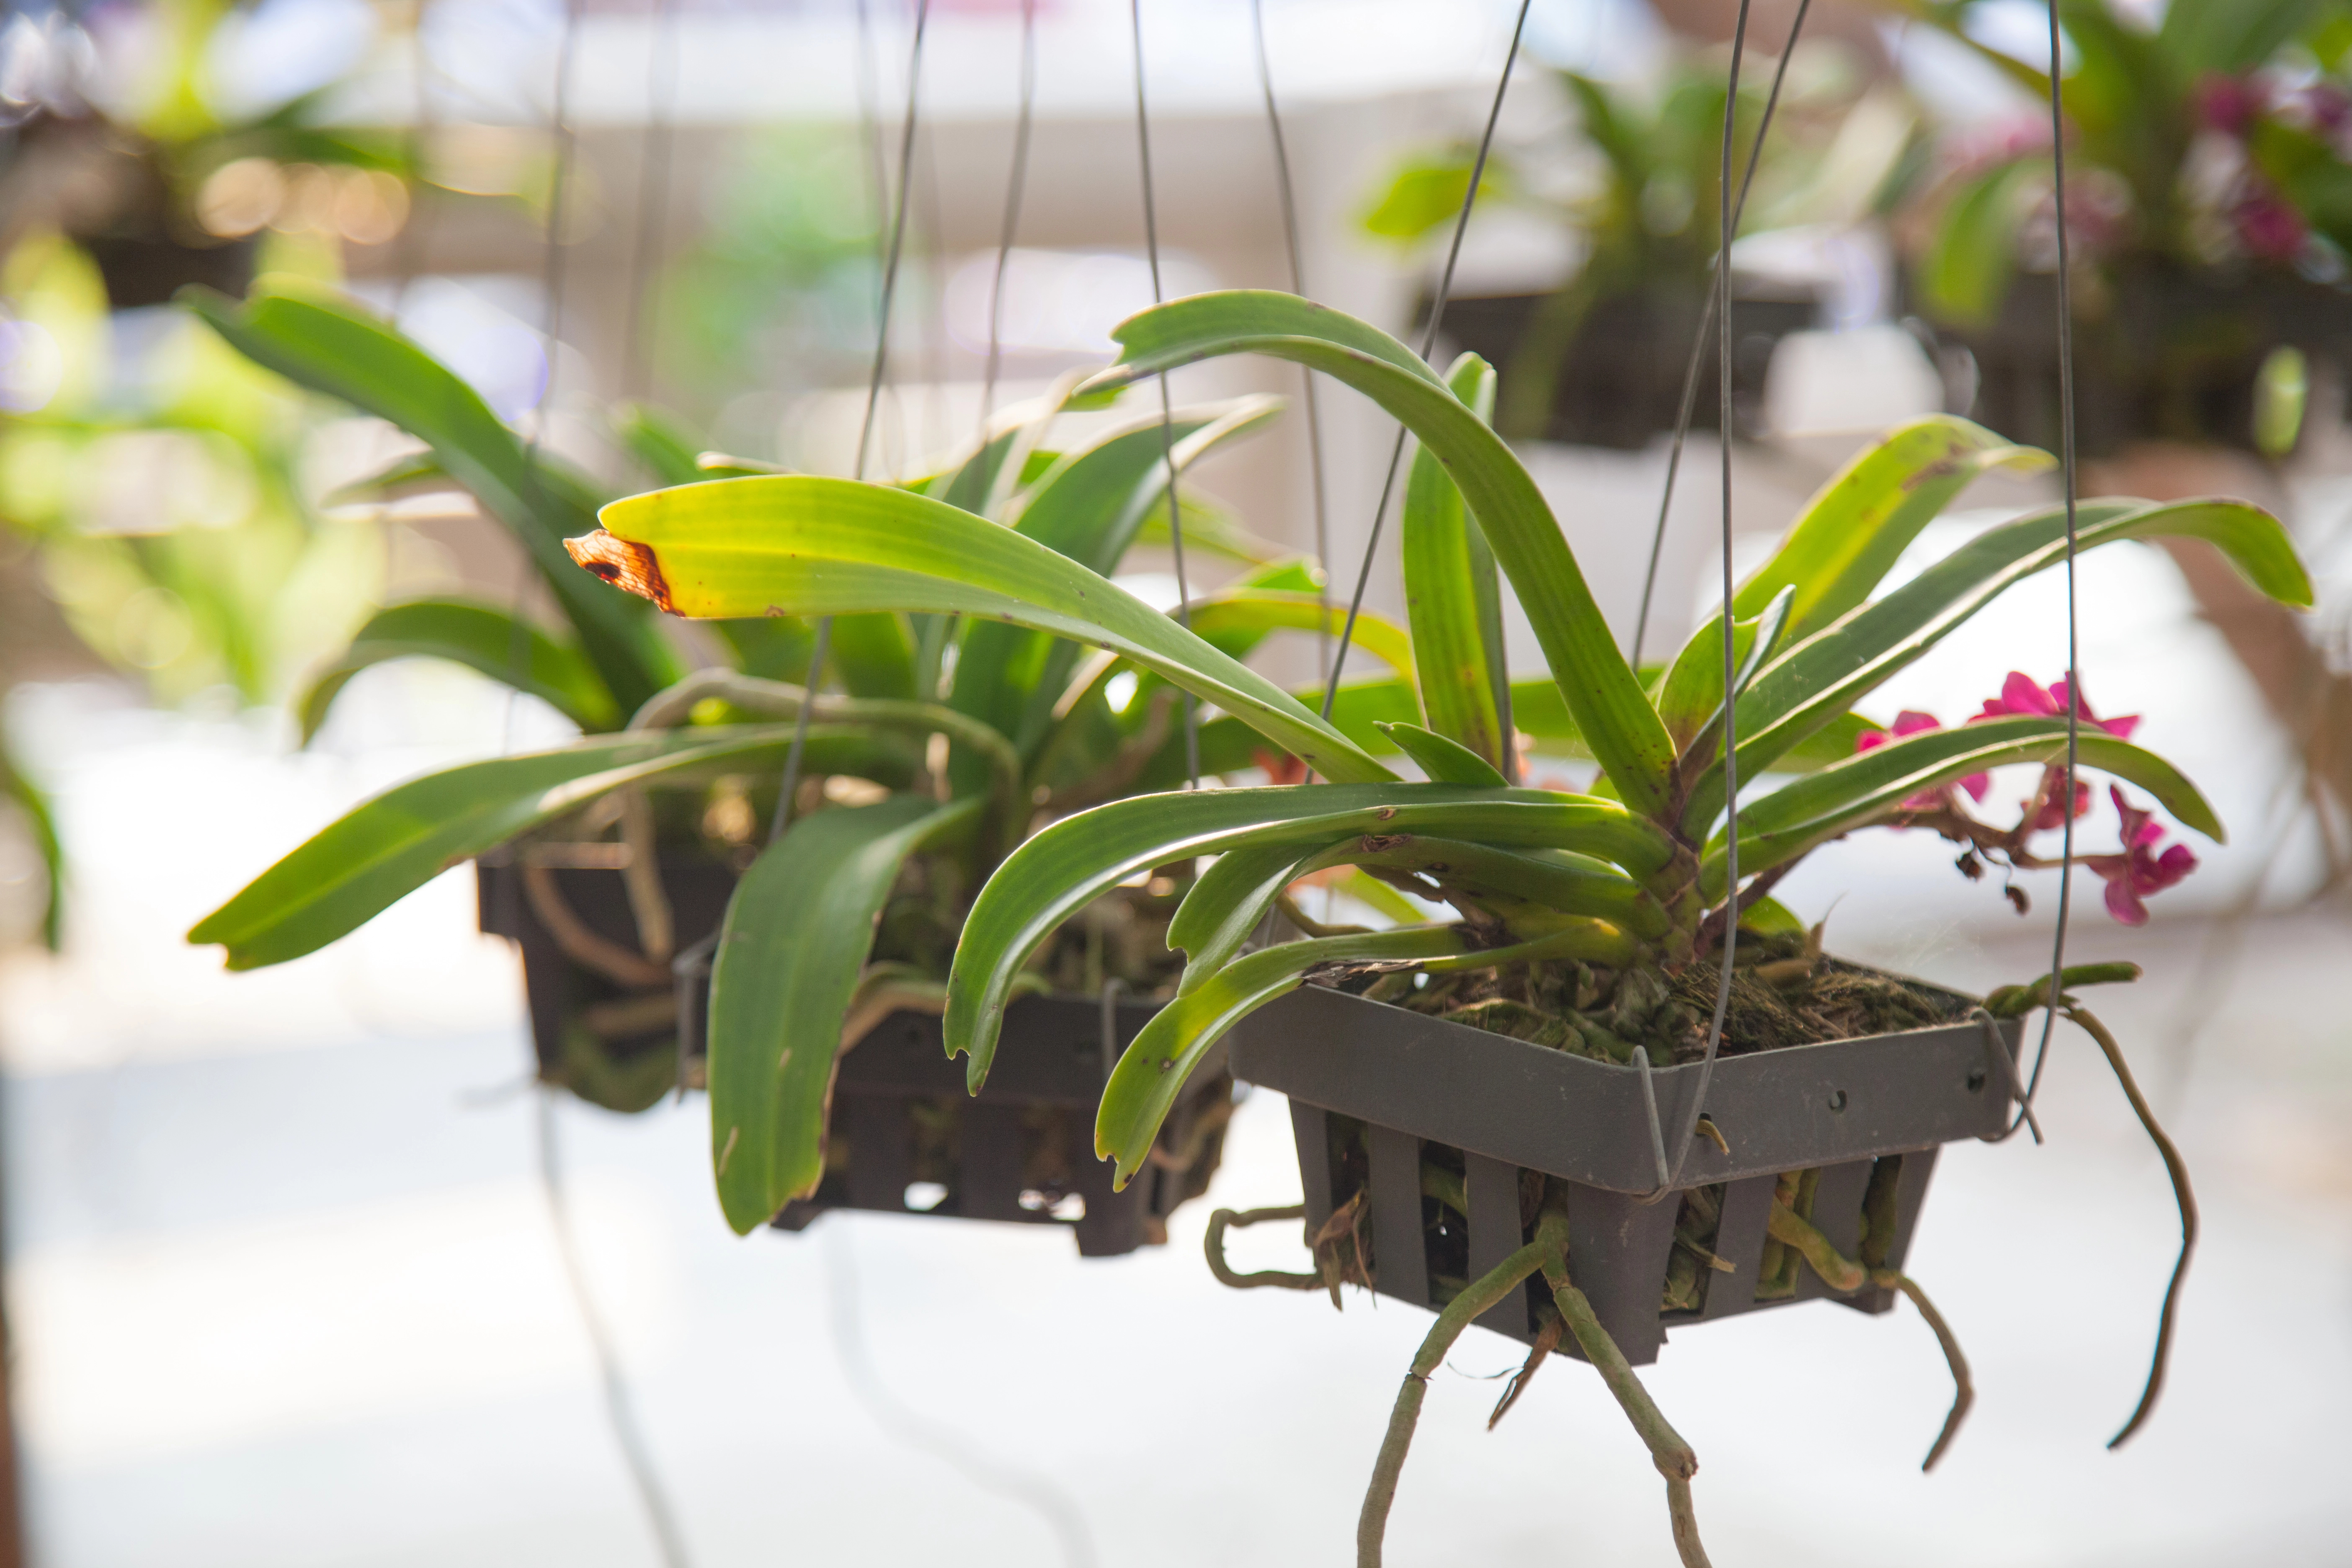
Epiphytic vs Terrestrial Orchids
- Epiphytes (e.g. many Phalaenopsis, Vanda, some Cattleyas) naturally grow on tree bark, rocks, or branches. Their roots are designed to be exposed to air, receive rain, and dry out between waterings. This means they need airy soil mixes and pots that allow airflow.
- Terrestrial orchids (like some Cymbidiums, Paphiopedilums) grow in soil in their native habitats and often need more organic media. But still, soil must be well-draining; actual garden soil often holds too much moisture.
Mimicking Natural Habitat in Container & Soil Choice
Wild orchids usually get bright but filtered light, high humidity, regular rainfall, and cooling nights. New orchid keepers can mimic this by choosing porous pots, airy soil mixes (bark, charcoal, perlite), ensuring good drainage, and allowing roots to dry moderately between waterings. Media that stays soggy mimics swamp conditions, which many orchids are not adapted to.
Choosing the Right Pot / Container
The container you choose plays a huge part in root health and overall orchid care.
Drainage & Ventilation
- Pots should have adequate drainage holes so excess water can escape. Without holes, water can pool at the bottom, causing root rot.
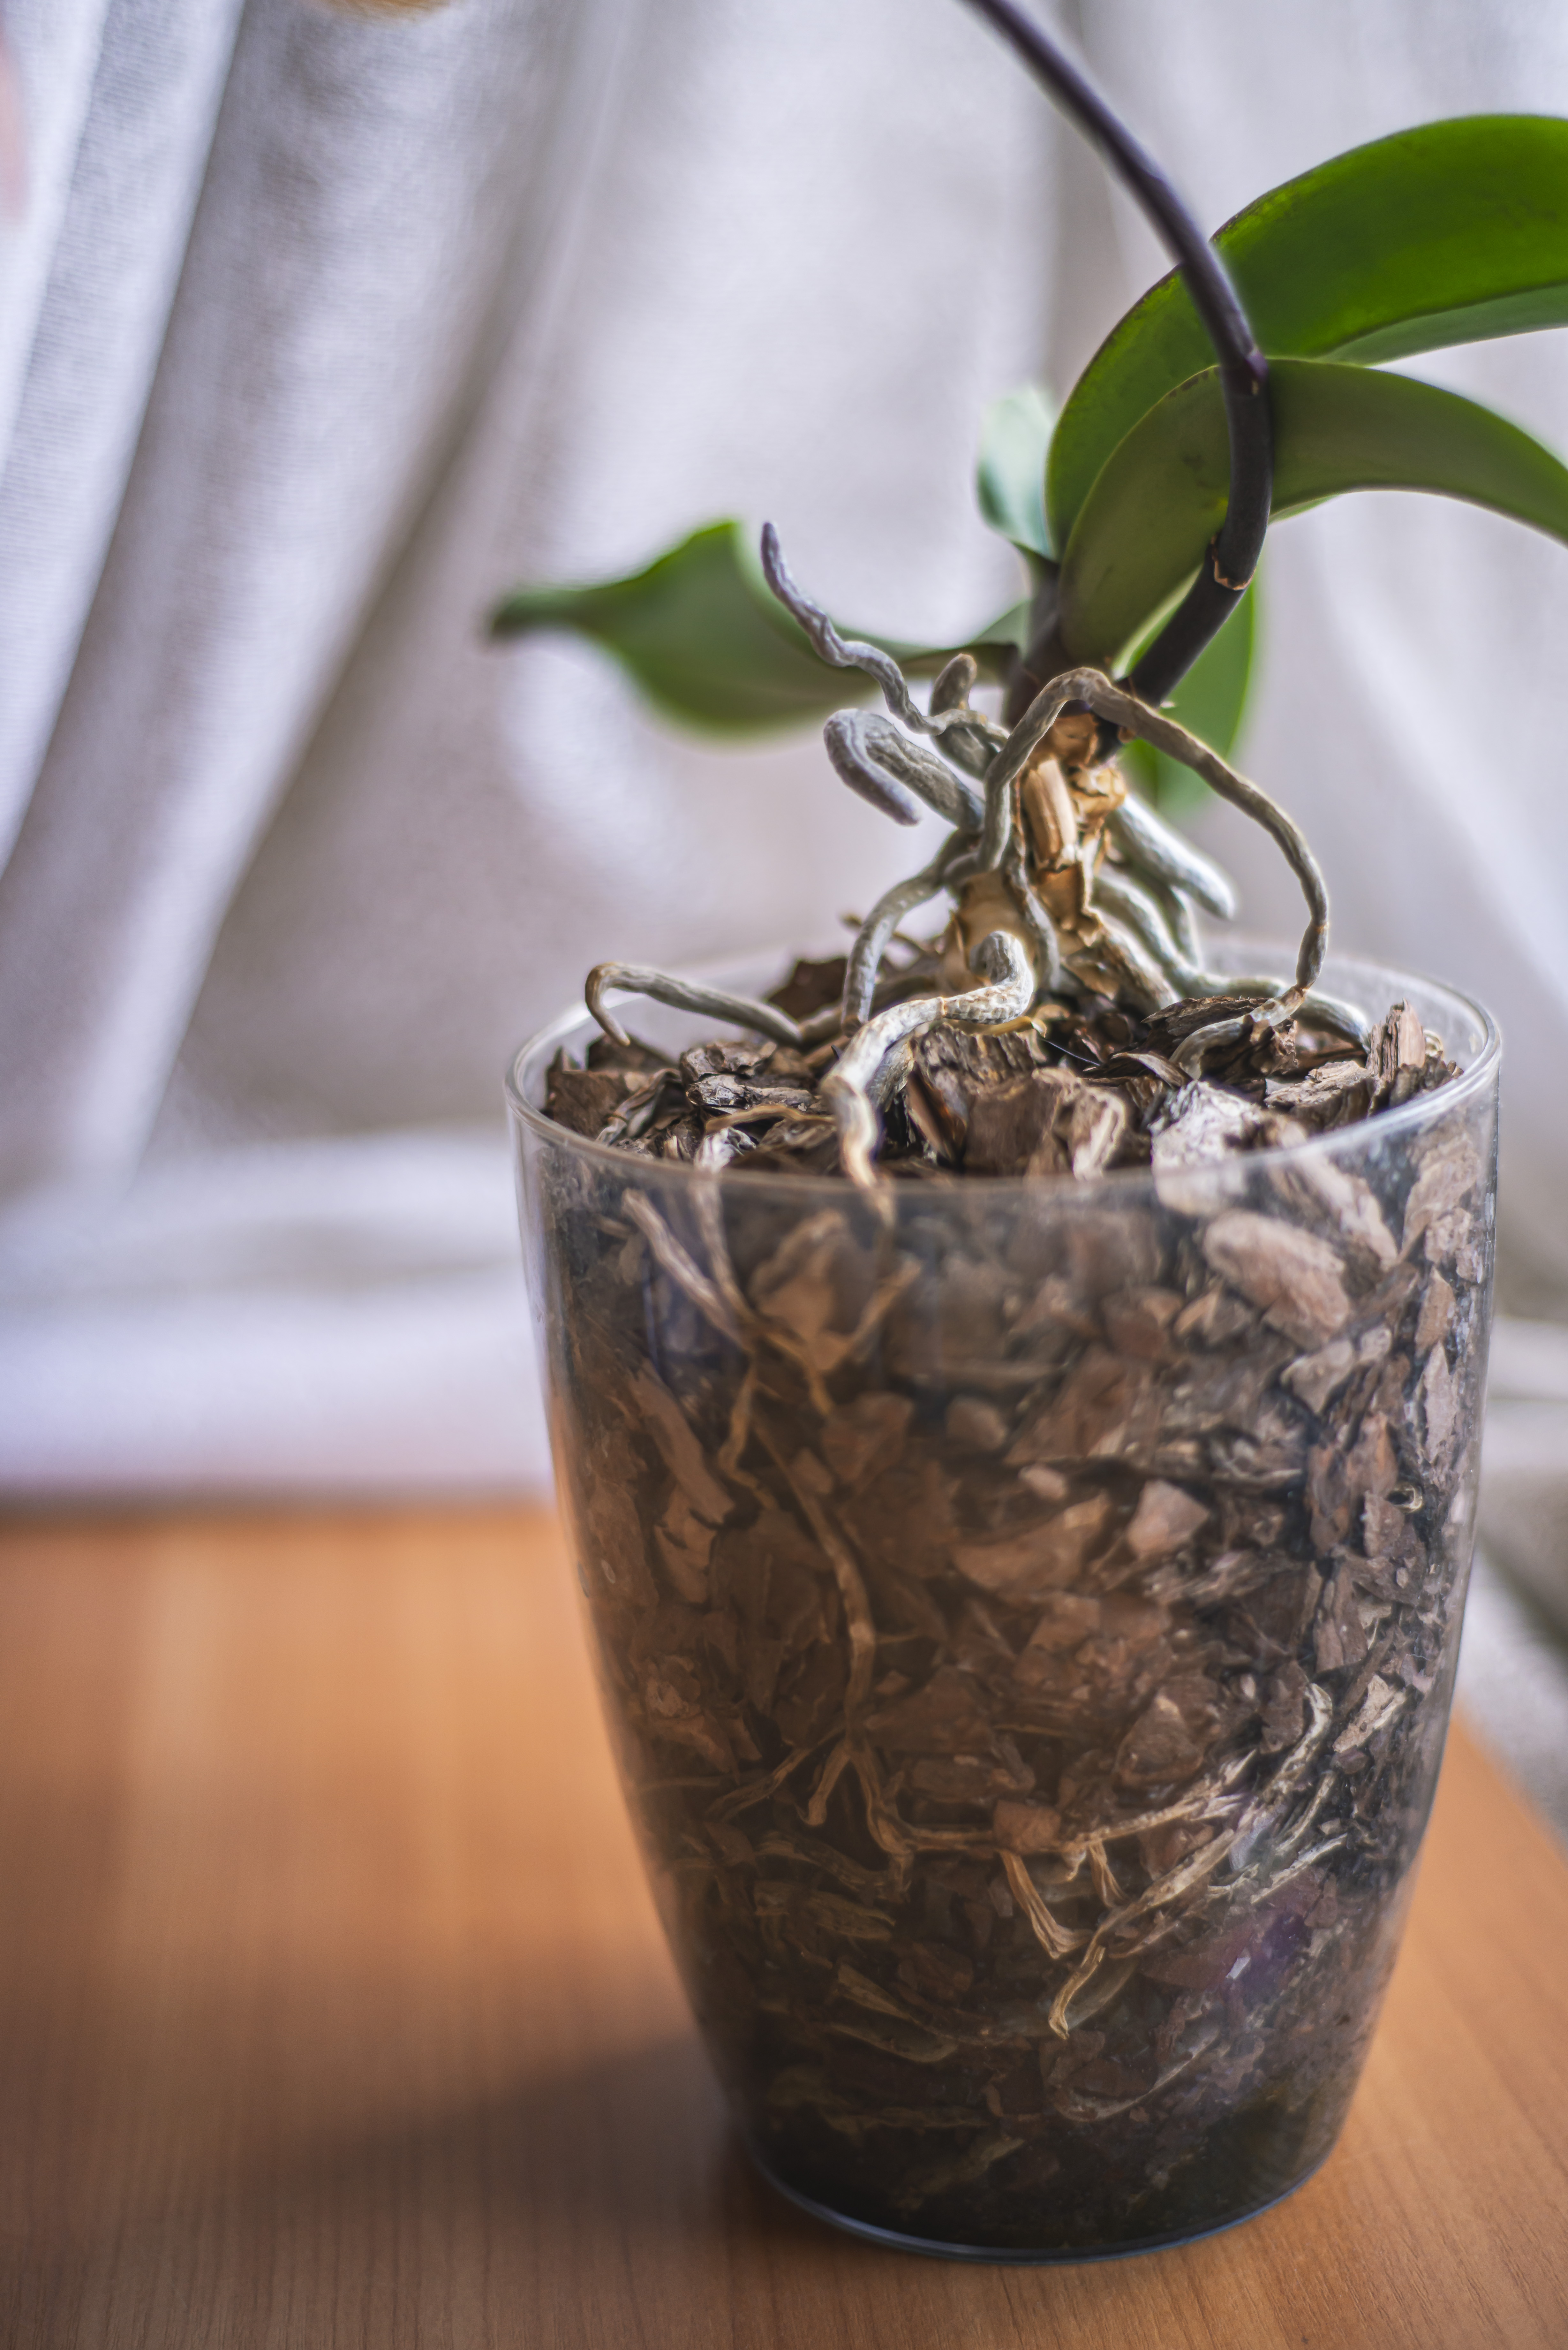
- Many orchid growers prefer clear plastic pots they allow you to see root condition, soil moisture, and whether roots are healthy.
Pot Size: Snug vs Oversized
- Orchids often do better in snug pots. A pot too big means a lot of media, which retains moisture longer, delaying drying and increasing rot risk.
- The ideal pot is just big enough to accommodate the current root mass plus room for new growth. If a plant looks cramped or roots are pushing out of the pot, that’s a clue.
Pot Material: Plastic vs Terracotta vs Decorative
- Plastic pots retain moisture longer; they’re lightweight and often less expensive. Clear plastic pots let you see roots.
- Terracotta pots or unglazed ceramic allows more breathability; they dry more quickly, which can be good if you tend to overwater. But they also dry out faster—so watering frequency must adjust.
- Decorative outer pots (cache pots) are fine as long as inner pot has drainage; you don’t want decorative aesthetics preventing proper drainage.
Potting Media / Soil Mix Essentials
What’s inside the pot is as important as the pot itself. The soil mix (media) you use determines how well roots breathe, drain, retain moisture, and avoid decay.
Key Media Components
- Bark (fir or pine bark chips): Provides structure, large particles create air pockets for root respiration.
- Perlite: Helps drainage and reduces compaction.
- Charcoal: Helps absorb toxins and keeps mix fresh longer.
- Sphagnum moss or coconut husk: Retains moisture, but if used alone or too much, may stay soggy. Good as component, not as the sole media for most epiphytes.
Moisture Retention vs Airflow Trade-Offs
- Finer bark retains more water but also breaks down faster.
- Chunkier mix improves airflow but dries faster requires more frequent watering.
- Charcoal and large chips help preserve structure over 1-2 yrs.
When to Repot Your Orchid
Knowing the right moment to repot reduces risk of stress or bloom delay.
Signs Your Orchid Needs Repotting
- Broken-down or compacted media that no longer drains well.
- Roots growing out of pot, overcrowding or pushing the plant up.
- Media retaining odor or showing mold.
- After flowering is over (commonly for Phalaenopsis) is usually the best time.
Best Time / Season to Repot
- Right after blooming, when plant is entering vegetative growth.
- Avoid repotting during active flowering or bud set to reduce stress.
- Spring or early summer often works well, depending on locale.
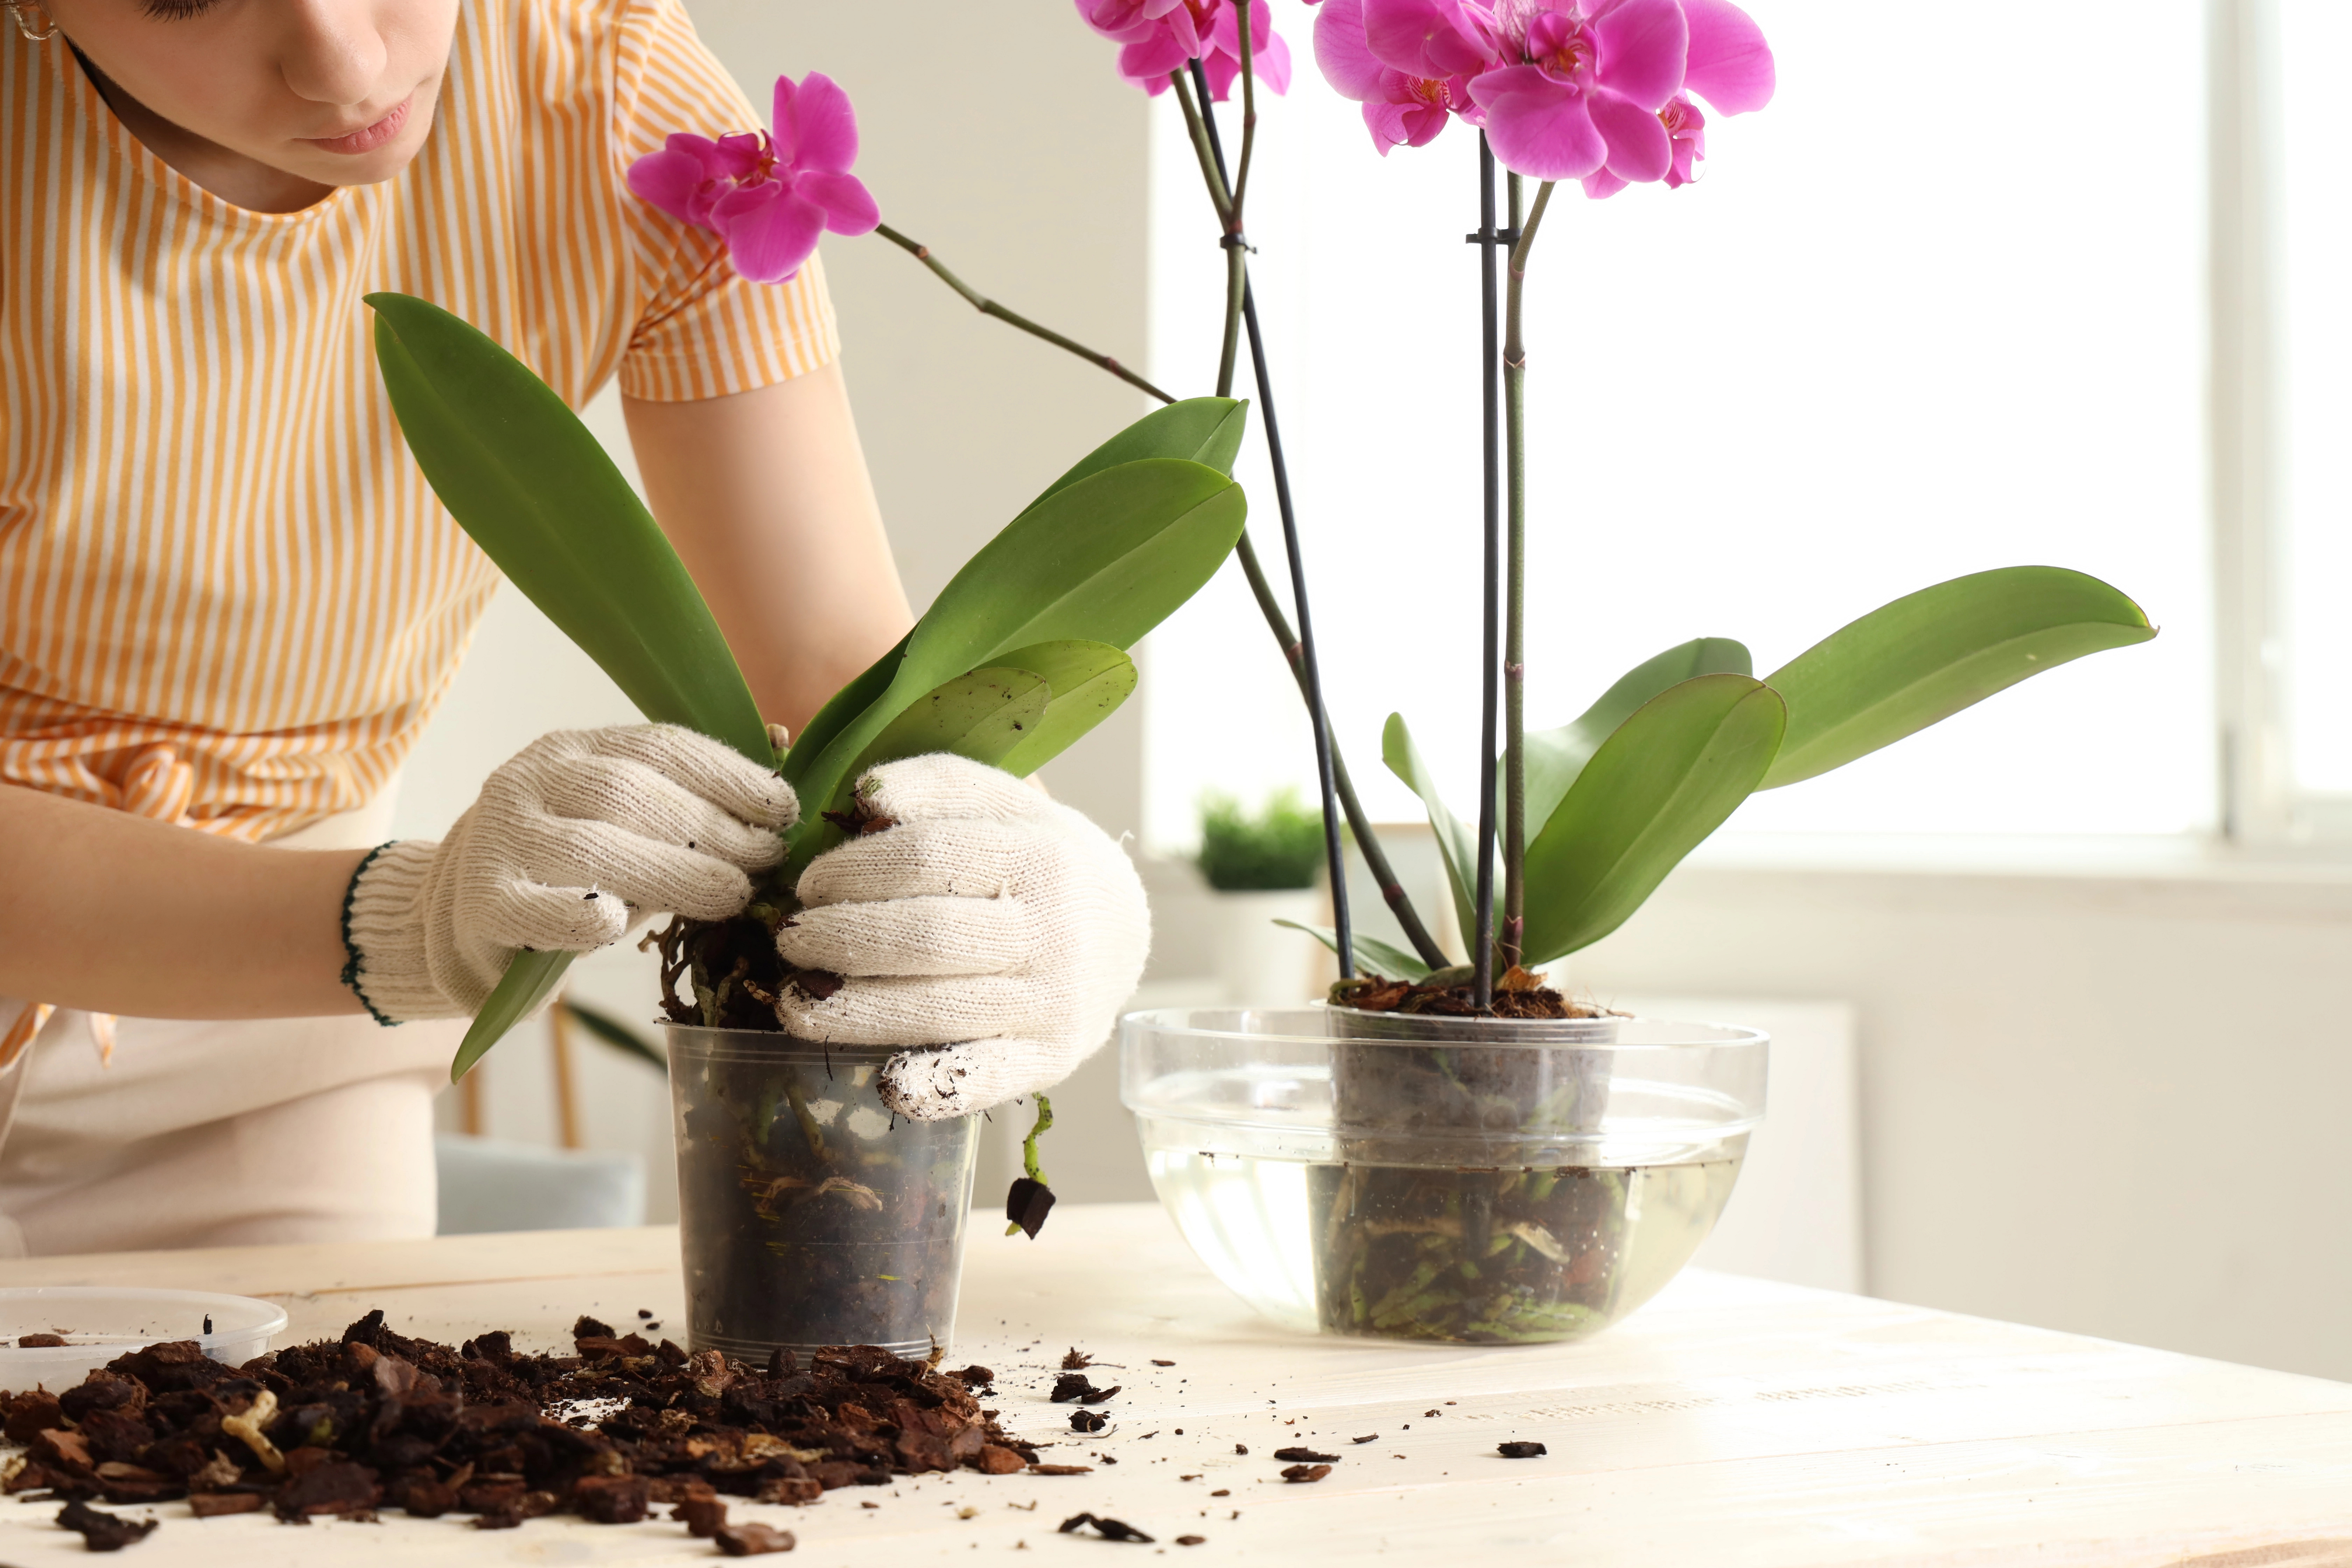
How to Repot Properly
Follow careful steps to avoid damaging your orchid.
Supplies & Tools
- Sterilized shears or pruning scissors
- Fresh potting media mix
- New pot (size chosen carefully)
- Pots that enable good drainage
- Optionally, gloves, tweezers, dowel or stick to settle mix
Step-by-Step Repotting Process
- Water the orchid a day or so before to help loosen roots.
- Remove from old pot, gently shake off old media.
- Trim dead/rotted roots (brown, mushy, hollow) with sterile tool.
- If coming from moss, remove moss as much as possible (especially if rotting).
- Choose pot size snug to root mass; place orchid in new pot.
- Add fresh media slowly, working it between roots so there are no air pockets. Using a damp bark helps.
- Stake plant if needed to support it upright.
After-Repotting Care
- Water thoroughly, then allow media to drain. Avoid watering immediately again; let roots begin to heal (some sources say wait ~1 week)
- Keep in bright, indirect light; moderate humidity. Avoid direct hot sun or stress.
- Monitor root health, avoid overwatering.
Special Situations & Common Problems
Even with good pot & mix, some challenges come up. Here’s how to handle them.
Root Rot
- Brown, mushy roots; foul smell; plant may wilt. First fix: remove affected roots immediately. Trim back to healthy tissue. Use sterile tool.
- Repot into fresh, well-draining mix. Sometimes pot in smaller pot until recovered.
Orchids from Moss vs Bark
- Retail orchids often come in moss or mixed media that stays wet. Moss retains moisture well but if airflow is low, rot risk is higher. Over time, gradually shift to bark-based or mixed media.
Orchids with Few Roots / Recovering Orchids
- Use methods like “sphag-n-bag” (bag + moist sphagnum moss) to raise humidity and encourage root regrowth.
- Provide gentle conditions: indirect light, stable temps, minimal fertilizing until new roots emerge.
Pot & Soil Mix Mistakes Beginners Make
Highlighting what NOT to do helps avoid problems.
- Using garden soil or regular potting mix this suffocates roots.
- Choosing pots without proper drainage or too large a pot.
- Using soil mix that breaks down too quickly (very fine bark or overly mossy).
- Keeping mix too wet (overwatering) or never allowing it to dry somewhat.
Adjusting Care After Repotting
Repotting changes how your orchid interacts with its environment.
- Watering frequency often increases if using bark mix vs moss bark generally dries faster. Monitor moisture.
- Increase airflow, maintain stable humidity. Newly exposed roots are vulnerable.
- Avoid high fertilizer until plant shows new growth; roots need time to establish.
Pot Maintenance & Soil Refresh Tips
To keep roots healthy over time:
- Refresh or replace potting media every 1-2 years or when it begins to smell, compact, or decompose.
- Clean pots and sterilize tools before reuse.
- Use charcoal or mix additives like perlite to extend media life.
Quick Takeaways / Key Points
- Root health is fundamental: always check roots first if your orchid looks unhappy.
- Choose pot & mix that mimic epiphytic conditions: airflow, quick drainage, balanced moisture retention.
- Pot size matters: snug rather than oversized; proper drainage is critical.
- Repot at the right time: after blooming, when media degrades, when roots overcrowd the pot.
- Trim dead roots & media regularly; avoid letting mix decompose fully.
- After repotting, give the orchid time: reduce stress, regular monitoring, adjust watering, avoid overfertilizing.
FAQs
- How often should I repot my orchid for best root health?
Repot every 1-2 years for most epiphytic orchids, or whenever you notice the potting media breaking down (compaction, odor, moisture retention problems) or roots becoming overcrowded. - What soil mix is best: bark, moss, or something else?
A good mix often includes bark chips, perlite, charcoal—and optionally some moss or coconut husk. The exact ratio depends on your climate and orchid type. Bark dominates when you need good air flow; moss helps with moisture retention but can retain too much if not well-ventilated. - Should I use clear plastic pots for my orchids?
Yes, clear pots are helpful because they let you see root health and soil moisture level. They also allow light to reach the roots (some orchids’ roots do photosynthesize). You can put clear pot inside a decorative cache pot if you want better aesthetics. - Can I repot during blooming?
It’s best to wait until after the bloom cycle ends. Repotting is stressful for the plant, and doing so during blooming increases risk of dropping buds or damaging developing flowers. - How do I fix root rot once it starts?
Remove the plant, trim away any brown, mushy, or soft roots with sterile tools, repot into fresh, well-draining mix; reduce watering frequency; isolate plant if infection is suspected (fungal or bacterial). Good airflow and indirect light help speed recovery.

Healthy roots are the foundation of excellent orchid care. If you get the pot, soil mix, and repotting right, your orchid has the best chance to grow strong, resist disease, and bloom beautifully. Choosing an appropriate pot (size, material, drainage), using a mix that balances moisture retention and airflow, recognizing when repotting is necessary, and caring gently after repotting are all critical steps especially for new orchid plant keepers.
Remember, each orchid is a little different: its growth habit, root size, sensitivity to moisture, and preferred soil mix will vary. What works in a humid greenhouse may differ from your living room’s environment. Be observant: monitor root condition, soil moisture, leaf appearance and adjust accordingly.
If you’re just starting out, try applying one or two of these tips (for example, switching to a more airy soil mix, or choosing a pot with better drainage). Then watch how your orchid responds. Over time you’ll build confidence and see healthy roots, vibrant foliage, and regular blooms. Happy growing your orchids are rooting for you!
Did you try repotting your orchid or changing its soil mix recently? What changes did you notice in root health or growth? Drop a comment below sharing your experience helps others (and you might pick up tips you didn’t know). If you found these orchid care tips helpful, feel free to share or pin this post—your orchid friends will thank you! 🌱
Want To Learn More?
IF YOU LIKE THIS POST
You might also like these:
We’d love to hang out with you on our social channels. You can subscribe to our blog and find us on Facebook, Youtube, Instagram and Pinterest! Feel free to reach out if you have any plant questions!
DISCLOSURE
This blog post may contain affiliate links. Which means if you click on a link and go on to buy the product I recommend, I may get a small commission at no extra cost to you.
Thank you for your support. It means the world to us!

The Thrifted Planter
Ciearra is a gardener and houseplant enthusiast of over 10 years! She has been growing indoors and outdoors. Supplying food for her family and beautifying her home with annuals, perennials and houseplants! Ciearra is passionate about sharing her knowledge of plant care with anyone who needs help or a quick plant growth tip! When she’s not blogging you can find her tending to her chickens, dogs and hanging out with her family

Nestera Chicken Coop

Park Seed
Garden Tower Project
Vego Garden Beds
Botanical Interests
Amazon Favorites!

Hoselink
Web Stories