How to Plant and Care for Amaryllis Plants
The amaryllis bulb is a beautiful and easy-to-grow plant that is native to South Africa. It is a member of the Amaryllidaceae family, which also includes daffodils, lilies, and onions.
The bulbs are relatively easy to grow and many people grow them indoors in the fall for an indoor bloom display during Thanksgiving and Christmas. Even though the Amaryllis plant is easy to grow year round, many people in colder garden climates tend to grow Amaryllis for Christmas, then discard them after they are done blooming. However you decide to grow your Amaryllis, you will learn how to do it all by the end of this post.
This post may contain affiliate links. If you make a purchase from these links I may earn a small commision to fund my gardening addiction.

Amaryllis Bulbs
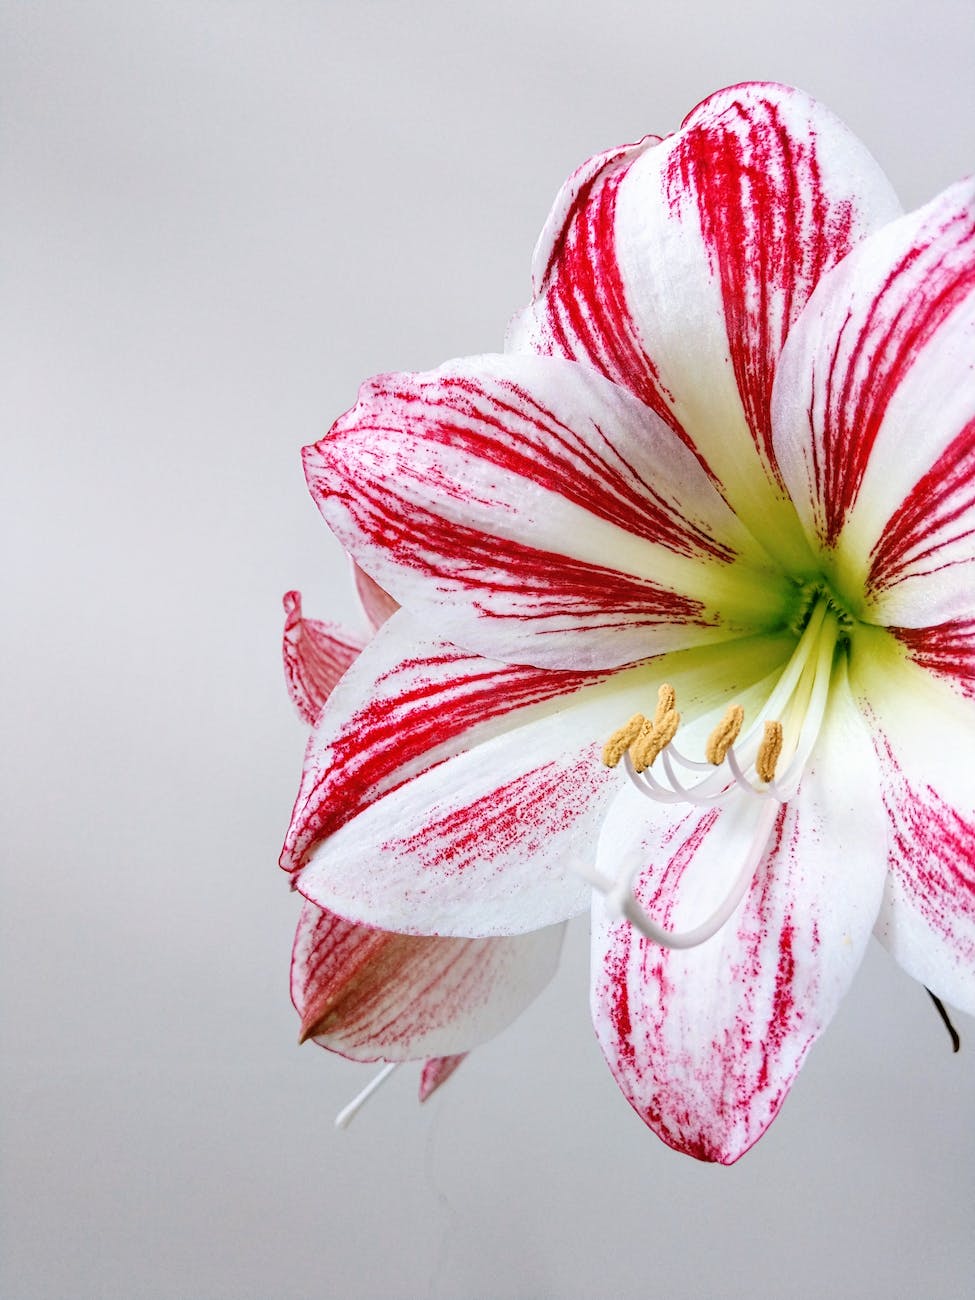
- Choose a bulb. When choosing an amaryllis bulb, look for one that is firm and plump. The neck of the bulb should be free of rot or mold. Don’t worry if the bulbs is papery. Bulbs grow layers and the outer layers dry out and flake off. Amaryllis bulbs are large – 2 to 4 inches in diameter – and produce a cluster of two to twelve funnel-shaped flowers. The flowers can be shades of white, pink, red, orange, or yellow. There are many flower types now and you can get a wide variety of flowers to grow!
Check out this Amaryllis Bulb kit for an easy why to start your bulb!
How to Plant an Amaryllis Bulb
- Prepare the pot. Use a pot that is at least two inches bigger (wider) than your Amaryllis bulb. The pot should have drainage holes to prevent the soil from becoming waterlogged. Wet soil can cause many issues for your bulb, the biggest issue being root rot or rotting of the bulb.
- Fill the pot with potting soil. Use a potting soil that is well-draining. You never want your bulb to be sitting on soggy soil. So buy a cactus soil mix or use regular soil and amend it with perlite, orchid bark, anything that will allow more water drainage.
- Plant the bulb. Plant the bulb with the pointed end up. Leave the first inch of the bulb above the soil line.
How to Water an Amaryllis Bulb
- Water the bulb. Water the bulb thoroughly until the soil is moist. Allow water to flow through the drainage hole before you stop watering. You will want to water only when you see that the surface of the soil has dried. The soil should be kept moist and not soggy. Once your bulb sprouts, you can water less often waiting for the soil to dry halfway down. You can check this by sticking your finger or moisture meter into the soil to check for dryness.

Next steps
- Place your Amaryllis in a warm, dark place. The ideal temperature for growing amaryllis is 65-75 degrees Fahrenheit.
- Wait for the bulb to sprout. It will take about 6-8 weeks for the Amaryllis Bulb to sprout.
- Move the pot to a bright, indirect light location. Once the Amaryllis Bulb has sprouted, move the pot to a location where it will receive bright, indirect light.
- Fertilize the plant. You can fertilize the plant every 2-3 weeks with a balanced liquid fertilizer.
- Enjoy your blooms! Amaryllis will typically bloom for 2-3 weeks at a time. If you time your planting right, your Amaryllis may bloom for the holiday season.
Here are some additional tips for growing Amaryllis plants:
- You can soak the bulb in warm water for 2-4 hours before planting to help it rehydrate but no longer to avoid rot
- If you live in a cold climate, you can start the bulb indoors and then move it outdoors after your weather has warmed up.
- Once the blooms have faded, cut off the flower stalks but leave the leaves on. The leaves will continue to photosynthesize and help the bulb store energy for next year’s blooms.
- After the leaves have died back, you can store the bulb in a cool, dry place until next winter.
- Amaryllis blooms can get top heavy and tip over in some cases. A trellis can help keep your bloom stalks standing longer.
Keep Your Amaryllis growing year round
There is no reason you need to trash your Amaryllis plants after they are done blooming. Amaryllis can grow happily indoors as a houseplant, even spending the late spring, summer and fall outdoors if you wish.
Amaryllis bulbs are best planted in the fall, so that they can flower in the winter or early spring. Amaryllis can be planted in pots or in the ground. If planting in the ground, choose a location that gets full sun. After planting, water the amaryllis bulb well and keep the soil moist but not soggy.
Once the bulb has started to grow, you can water it less frequently. Amaryllis bulbs do not need a lot of fertilizer. A light application of fertilizer in the spring will help the plant to flower.
Amaryllis Issues
The bulbs are relatively pest and disease free. However, they can be susceptible to root rot if the soil is too wet. If you notice that the leaves of your amaryllis plant are starting to turn yellow, this could be a sign of root rot. In this case, you will need to repot the plant in a pot with well-draining soil.
With proper care, Amaryllis bulbs will bloom for several weeks. Once the flowers have faded on your plant, you can cut the stems back to the base of the bulb. The bulb will go dormant for a few months, but it will start to grow again in the fall.
Propagating Amaryllis
Propagating by dividing Amaryllis offsets
Offsets are small baby bulbs that grow around the main bulb. To propagate Amaryllis by dividing offsets, you will need to wait until the offsets are at least 2 inches in diameter. Once the offsets are large enough, you can carefully separate them from the main bulb. Separating the bulbs too soon and they may not transplant well. Plant the offsets in a well-draining potting mix and water them regularly. The offsets should start to flower in a few years.
Propagating by sectioning Amaryllis bulbs
Sectioning is a more advanced method of propagating Amaryllis. To propagate Amaryllis by sectioning, you will need to cut the main bulb into several pieces. Each piece should have at least one basal plate, which is the disc-shaped structure at the bottom of the bulb. Plant the sections in a well-draining potting mix and water them regularly. The sections should start to flower in a few years.
Here are some tips for propagating Amaryllis:
- Use a well-draining potting mix.
- Fertilize the plants every few weeks during the growing season.
- Avoid over watering the plants. Soggy soil can cause rot.
- Keep the plants in a warm, sunny location
Here is a table comparing the two methods of propagating Amaryllis:
| Method | Description | Pros | Cons |
|---|---|---|---|
| Dividing offsets | Separating small bulbs from the main bulb | Easy, relatively quick | Takes a few years for the offsets to flower |
| Section | Cutting the main bulb into several pieces | Can be used to propagate larger bulbs | More difficult, takes longer for the sections to flower |
Which method you choose will depend on your preferences and the size of the amaryllis bulb you have. If you have a small bulb, you may want to try dividing offsets. If you have a larger bulb, you may want to try sectioning.
Propagating Amaryllis is a great way to get more plants for free but it will take years for blooms and may not be worth the potential frustration.
Get your Amaryllis to Rebloom
The Amaryllis plant can re-bloom year after year with proper care. Here are the steps on how to get your amaryllis to rebloom:
- After the flowers have faded, cut the flower stalks back to the base of the plant. Leave the leaves on the plant, as they will continue to photosynthesize and store energy for the next bloom.
- Water the plant sparingly until the leaves start to yellow. This will signal to the bulb that it is time to go dormant.
- Once the leaves have turned yellow, stop watering the plant altogether.
- Move the plant to a cool, dark location for 8-12 weeks. The ideal temperature range is 45-55°F.
- After 8-12 weeks, bring the plant back to a warm, sunny location. Water the plant lightly and resume fertilizing.
- In 4-6 weeks, you should see new growth! The plant will eventually flower again.
If you plan the Amaryllis dormancy just right you can have your plant re-blooming around Thanksgiving or Christmas! July is a good time to start easing your Amaryllis plants into dormancy.
Learning how to care for Amaryllis plants is a good skill to have as a gardener. Your friends and family will ooo and ahhh over your gorgeous Amaryllis plants during the holidays.
Happy Gardening
6 responses to “How to Plant and Care for Amaryllis Plants”
Leave a Reply

Nestera Chicken Coop

Botanical Interest
Garden Tower Project
Vego Gardens

Botanical Interests
Amazon Favorites!

Hoselink
Web Stories


[…] Full Amaryllis planting and growing guide here! […]
[…] FULL Amaryllis Growing Guide Here! […]
[…] Read our FULL Amaryllis growing guide here! […]
[…] Full Amaryllis Growing Guide Here! […]
[…] FULL Amaryllis growing guide here! […]
[…] Read How to Plant and Grow Amaryllis Bulbs for the holiday Here! […]