How to Propagate Alocasias
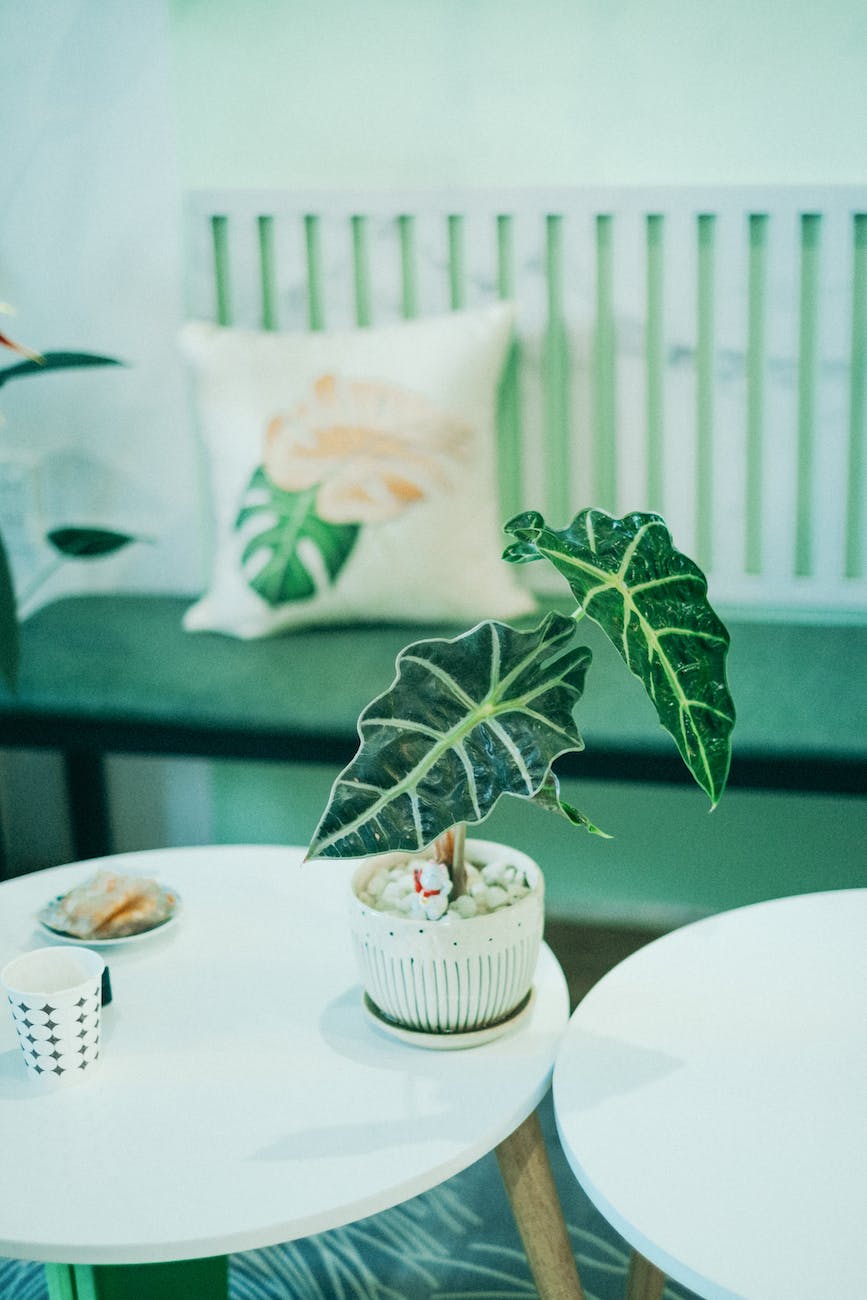
Alocasias make gorgeous tropical houseplants. They are a popular choice for indoor gardeners because of their large, exotic leaves and their ability to thrive in a variety of conditions.

However, one of the challenges of growing Alocasia plants is propagating them. I mean who doesn’t want more Alocasias and for free but It can be a challenge.
How to Propagate Alocasias
There are three common ways to propagate alocasia plants. By division, by corm and by rhizome propagation.
Division Method:
- Select a Mature Plant:
Choose a healthy and mature Alocasia plant for division. This method is typically performed during the growing season in spring or early summer. - Prepare the Plant:
Water the Alocasia thoroughly a day or two before dividing. This ensures that the plant is well-hydrated, making the process easier. - Remove the Plant from the Pot:
Gently remove the Alocasia from its pot, taking care not to damage the roots. You can tap the bottom and sides of the pot to loosen the soil, making it easier to extract the plant. - Inspect the Rhizomes:
Alocasia plants grow from rhizomes, which are underground stems. Identify healthy rhizomes with both roots and shoots. Each section you select for division should have a portion of the rhizome with attached roots and at least one growing point or bud. - Divide the Rhizomes:
Use a clean, sharp knife or gardening shears to cut the rhizomes into sections. Each section should have a portion of the rhizome, roots, and a growing point. Make clean cuts to minimize stress on the plant. - Dust with Fungicide (Optional):
Optionally, you can dust the cut surfaces with a rooting hormone or fungicide to prevent infections and promote healthy root development. Allow any applied substances to dry before planting. - Plant the Divisions:
Plant each divided section in a new pot filled with well-draining potting mix. Ensure that the growing point is positioned at or just below the soil surface. Water the newly potted divisions thoroughly. - Provide Adequate Care:
Place the newly potted divisions in a location with bright, indirect light. Keep the soil consistently moist but not waterlogged. Maintain a warm and humid environment, as Alocasia plants thrive in tropical conditions. - Monitor Growth:
Regularly check for new growth, which indicates successful root development. Be patient, as it may take a few weeks for the divisions to establish themselves and show signs of growth.

Rhizome Propagation Method:
- Select Healthy Rhizomes:
Choose a mature Alocasia plant and identify healthy rhizomes with active growth points. - Prepare Rhizome Cuttings:
Using a clean, sharp knife or shears, cut healthy rhizome sections with at least one growing point and attached roots. - Optional: Use Rooting Hormone:
If desired, you can dip the cut ends of the rhizome cuttings in rooting hormone to encourage root development. - Plant the Rhizome Cuttings:
Plant the rhizome cuttings in small pots filled with well-draining potting mix. Ensure that the growing point is at or just below the soil surface. - Water and Provide Optimal Conditions:
Water the cuttings thoroughly and place them in a warm, humid environment with bright, indirect light. Maintain consistent moisture in the soil. - Monitor and Transplant:
Keep a close eye on the cuttings for signs of new growth and root development. Once they have established themselves, usually within a few weeks, you can transplant them into larger pots or directly into the garden.
Propagation By Corm
Alocasia plants can be propagated by corm division, as they grow from underground structures called corms. Corms are similar to bulbs but have a solid structure.
Materials Needed:
- Healthy Alocasia plant with well-developed corms
- Clean, sharp knife or pruning shears
- Potting mix or a mix of perlite and peat moss
- Small pots or containers
- Rooting hormone (optional)
- Watering can or spray bottle
- Plastic bags or plastic wrap (optional)
Steps:
- Select a Healthy Parent Plant:
Choose a mature and healthy Alocasia plant with well-established corms. The best time to propagate is during the growing season in spring or early summer. - Prepare the Plant:
Water the Alocasia plant a day or two before propagation to ensure that it is well-hydrated. This makes it easier to work with the plant. - Remove the Plant from the Pot:
Gently remove the Alocasia from its pot, being careful not to damage the roots. You can tap the bottom and sides of the pot to loosen the soil. - Identify and Separate Corms:
Identify healthy corms by looking for rounded, firm structures attached to the roots. Use a clean, sharp knife or pruning shears to carefully separate the corms from the main plant. Each corm should have attached roots. - Optional: Dust with Rooting Hormone:
If desired, you can dip the cut ends of the corms in rooting hormone to encourage root development. Allow any applied substances to dry before planting. - Prepare Pots and Soil:
Fill small pots or containers with a well-draining potting mix. You can use a mix of perlite and peat moss for good aeration. - Plant the Corms:
Plant each corm in a separate pot, burying them in the potting mix with the top of the corm just below the soil surface. Space the corms according to the size of the pot and the eventual size of the mature plant. - Watering:
Water the planted corms thoroughly, ensuring that the soil is evenly moist but not waterlogged. Watering helps settle the soil around the corms. - Optional: Create a Mini Greenhouse:
If you want to create a humid environment, cover each potted corm with a plastic bag or plastic wrap to form a mini greenhouse. This helps retain moisture. - Place in Indirect Light:
Position the potted corms in a location with bright, indirect light. Avoid direct sunlight, as it may be too intense for the newly planted corms. - Monitor and Transplant:
Keep the soil consistently moist and monitor the corms for signs of new growth, which indicates successful root development. Once the corms have developed into small plants, you can transplant them into larger pots or directly into the garden.
Remember to be patient, as it may take a few weeks for the corms to establish themselves and show signs of growth. With proper care, the propagated Alocasia plants should develop into mature, thriving specimens.
For an Alocasia grow guide read this!
More Tips
- Use a sharp knife to divide the rhizome or corms. This will help to prevent damage to the plant.
- Make sure that the potting mix is moist, but not soggy.
- Place the pots in a warm, humid location.
- Be patient. It may take several weeks for the divisions or corms to sprout.
- Once the divisions or corms have sprouted, you can care for them like any other alocasia plant.
Propagating alocasia can be a difficult process so if it doesn’t work keep trying.
Happy Gardening!
One response to “How to Propagate Alocasias”
Leave a Reply

Nestera Chicken Coop

Park Seed
Garden Tower Project
Vego Garden Beds

Botanical Interests
Amazon Favorites!

Hoselink
Web Stories


[…] How to propagate alocasia […]