How to wake up your Elephant Ear Bulbs (Complete Step-by-Step Guide)

How to Wake Up Elephant Ear Bulbs (Complete Step-by-Step Guide)
Every spring, gardeners eagerly pull their elephant ear bulbs out of winter storage and wonder the same thing: How do you wake up elephant ear bulbs after dormancy?
The secret is giving dormant elephant ear bulbs the right combination of warmth, moisture, and light. If temperatures are too cool or the soil stays too wet, the bulbs can remain dormant for weeks or even rot before they have a chance to sprout.
In this guide I’ll show you exactly how I wake up my elephant ear bulbs indoors every spring so they’re ready to explode with growth once warm weather arrives. Whether you’re growing Colocasia, Alocasia, or other elephant ear varieties, these simple steps will help you get healthy plants faster.
This blog post may contain affiliate links. I may earn a small commission to fund my houseplant habit if you use these links to make a purchase. You will not be charged extra, and you’ll keep me in the garden. It’s a win for everyone, really.

Choosing the Right Soil
Using the right soil is an important step in successfully waking up elephant ear bulbs. These tropical plants prefer a rich, well-draining potting mix that holds moisture without becoming waterlogged. Soil that stays too wet can cause dormant bulbs to rot, while soil that drains too quickly may dry out before roots have a chance to develop.
For the best results, choose a high-quality potting mix designed for containers rather than heavy garden soil. A light, fluffy mix allows oxygen to reach the developing roots while providing enough moisture for healthy growth. If you’d like to improve drainage even more, you can mix in a small amount of perlite.
Once your elephant ear bulb begins actively growing, maintaining consistently moist soil will help support the large, lush leaves these plants are known for. Starting with the right potting mix gives your bulbs the strong foundation they need to wake up and thrive.
Here’s a great mix to start your bulbs with!
Planting Elephant Ear Bulbs
Planting elephant ear bulbs correctly gives them the best chance of waking up quickly and producing healthy, vigorous plants. While these tropical bulbs are fairly forgiving, taking a few extra minutes to plant them properly can help prevent rot and encourage faster growth.
If you’re starting elephant ear bulbs indoors, begin with a container that has at least one drainage hole. A pot that is about 8 to 12 inches wide is usually large enough for a single bulb. Good drainage is essential because elephant ear bulbs can rot if they sit in soggy soil for too long.
Fill the container with a high-quality potting mix that drains well while still holding some moisture. Avoid heavy garden soil, which can compact easily and stay too wet. A lightweight potting mix gives the roots room to develop while helping prevent excess water from collecting around the bulb.
Before planting, take a close look at the bulb. The pointed or smoother end is usually the top, while the flatter side with small root scars is the bottom. If you’re not sure which end should face up, don’t worry too much. Elephant ear bulbs are resilient, and if planted on their side, they will usually grow in the right direction on their own.
Cover the bulb with about 2 to 4 inches of potting soil, leaving enough space at the top of the container for watering. Planting too deeply can slow sprouting, while planting too shallow may expose the bulb as it grows.
After planting, water the soil thoroughly to help it settle around the bulb. Then allow the top inch or two of soil to dry before watering again. Since dormant bulbs are not actively growing yet, they do not need constant moisture.
My Favorite Tip
I’ve found that patience is one of the most important parts of growing elephant ear bulbs. It’s tempting to dig them up to see if anything is happening underground, but resist the urge! Healthy bulbs spend several weeks developing roots before sending up their first leaves. As long as the bulb remains firm and the soil isn’t staying soggy, chances are it’s doing exactly what it should.
Grab a few Elephant Ear Bulbs here!
Watering Elephant Ear Bulbs
One of the biggest mistakes gardeners make when trying to wake up elephant ear bulbs is giving them too much water. While it may seem like frequent watering will encourage faster growth, overly wet soil can actually cause dormant bulbs to rot before they have a chance to sprout.
After planting your elephant ear bulb in a container with well-draining potting soil, water it thoroughly once to help settle the soil around the bulb. From there, allow the top inch or two of soil to dry before watering again. The soil should remain lightly moist, but never soggy.
Keep in mind that dormant elephant ear bulbs aren’t actively taking up much water because they don’t have leaves or roots growing yet. Until you see the first green shoot emerge, less is usually more.
I like to check the soil with my finger every few days instead of watering on a set schedule. If the soil still feels damp, I wait another day or two before checking again. This simple habit has helped me avoid losing bulbs to rot.
Once your elephant ear bulb begins to sprout, you’ll notice it starts using water much more quickly. At this stage, you can gradually increase your watering to keep the soil consistently moist, especially as the plant produces larger leaves. Elephant ears are thirsty plants during the growing season, but they still appreciate good drainage to prevent root problems.
Soil moisture meters are helpful for people who struggle with watering! Check them out here
Signs you’re watering too much:
- Soft or mushy bulbs
- A sour smell coming from the soil
- Mold growing on the soil surface
- Bulbs that become dark or begin to rot
Signs your bulb needs more water:
- The potting mix is completely dry several inches down.
- The emerging shoot begins to wilt or stall.
- The soil pulls away from the sides of the pot.
A little patience goes a long way when waking up elephant ear bulbs. Providing warmth, bright light, and just the right amount of moisture will give your bulbs the best chance of producing healthy, vigorous plants that are ready to move outdoors after your last spring frost.
Light Requirements for Waking Up Elephant Ear Bulbs
Light plays an important role in waking up elephant ear bulbs, but it isn’t as critical as warmth during the early stages. Before your bulb begins to sprout, it doesn’t require intense light because all of the energy needed for new growth is stored inside the bulb itself.
Once you’ve planted your elephant ear bulb, place the container in a warm location that receives bright, indirect light. A sunny windowsill, greenhouse, or under grow lights all work well. While the bulb can sprout in lower light conditions, providing bright light from the beginning ensures that any new growth stays compact and healthy instead of becoming weak and leggy.
If you’re starting elephant ear bulbs indoors several weeks before your last frost, I recommend using grow lights whenever possible. Position the lights about 6 to 12 inches above the soil and keep them on for 12 to 14 hours each day. This mimics the long days of spring and gives young plants the strong light they need once shoots begin to emerge.
As soon as you see the first green shoot breaking through the soil, light becomes much more important. Continue providing bright light or move the plant to your brightest window. If the new growth begins stretching toward the light source or appears pale, it’s a sign that your elephant ear needs more light.
When outdoor temperatures remain consistently above 50°F at night and all danger of frost has passed, gradually harden off your elephant ear before moving it outside. Start by placing it in a shaded, protected location for a few hours each day, then slowly increase its exposure to sunlight over the course of a week. This helps prevent sunburn and transplant shock.
Quick Light Tips
Moving outdoors: Harden off plants gradually before exposing them to full outdoor conditions.
Before sprouting: Bright, indirect light is beneficial, but warmth is the top priority.
After sprouting: Provide as much bright light as possible to encourage sturdy, healthy growth.
Grow lights: Keep lights 6–12 inches above the plant for 12–14 hours per day.
I always start my Elephant Ear bulbs the first or second week of February. I want my plants to have several leaves before planting outside. I also understand that elephant ears can take a long time to wake up and I love a big full lush garden early on in the season.

Dormant Bulb vs Awake Bulb
| Dormant Bulb | Healthy Sprouting Bulb |
|---|---|
| Firm | Firm |
| No leaves | Green shoot emerging |
| Minimal watering | Increased watering |
| Warm soil | Bright light and warmth |
| No fertilizer | Begin feeding after growth |
Keep Elephant Ear Bulbs Warm
If there’s one thing that will help wake up elephant ear bulbs faster, it’s warmth. These tropical plants thrive in hot weather, and their bulbs stay dormant until the soil reaches a comfortable temperature. Even with the right amount of water and light, cool conditions can significantly delay sprouting.
For the best results, keep your planted bulbs in a location where temperatures remain between 65°F and 75°F. A warm room, heated greenhouse, sunroom, or seed-starting area are all excellent choices. If your home tends to stay cool in early spring, placing the pot on a seedling heat mat can help warm the soil and encourage faster root development.
Remember that it’s the soil temperature that matters most—not just the air temperature. A sunny windowsill may feel warm during the day, but if temperatures drop at night, the potting mix can cool down enough to slow growth. Try to keep your bulbs away from drafty windows, unheated garages, or cold basements while they’re waking up.
One of the most common reasons gardeners think their elephant ear bulbs have failed is simply because they aren’t warm enough. Healthy bulbs may spend several weeks developing roots below the soil before sending up their first shoot. As long as the bulb is firm and free from rot, patience is often all that’s needed.
Ways to Keep Elephant Ear Bulbs Warm
- Place pots in a room that stays between 65°F and 75°F.
- Use a seedling heat mat if your home is cool.
- Grow bulbs in a greenhouse or sunroom if available.
- Keep containers away from cold drafts and chilly windows.
- Avoid placing pots directly on cold concrete floors, which can lower soil temperatures.
Once your elephant ear bulb begins to sprout, continue providing warm conditions while gradually increasing light and watering. Strong warmth combined with bright light and consistent moisture will encourage vigorous growth, giving you healthy plants that are ready to move outdoors once the danger of frost has passed.
Elephant Ear Bulb Growing Timeline
| Timeline | What’s Happening | What You Should Do |
|---|---|---|
| Day 1 | Plant the dormant elephant ear bulb in a container with well-draining potting mix. | Water thoroughly once and place the pot in a warm location (65–75°F). |
| Week 1 | The bulb begins developing roots below the soil, but you likely won’t see any growth above the surface. | Keep the soil lightly moist—not soggy. Be patient and avoid digging up the bulb to check its progress. |
| Weeks 2–4 | Strong roots continue to develop underground. Some varieties may begin producing a small green shoot. | Continue providing warmth and bright, indirect light. Water only when the top inch or two of soil feels dry. |
| Weeks 4–8 | Most healthy elephant ear bulbs will begin sprouting during this time. Growth speed depends on temperature and the variety you’re growing. | Increase watering slightly as new leaves emerge. Rotate the pot occasionally for even growth. |
| After Sprouting | The plant begins producing larger leaves and grows more quickly. | Move the plant to a brighter location, begin fertilizing every 2–4 weeks, and keep the soil consistently moist. |
| After Your Last Frost Date | Once nighttime temperatures stay above 50°F, your elephant ear is ready for life outdoors. | Gradually harden off the plant over 7–10 days before transplanting it into your garden or outdoor containers. |
Remember that every elephant ear bulb is different. Some varieties sprout in as little as three weeks, while others can take up to eight weeks or longer. Temperature is one of the biggest factors affecting how quickly dormant elephant ear bulbs wake up. Keeping the soil warm and providing consistent moisture without overwatering will give your bulbs the best chance of sprouting quickly.

If your unsure of which side of the bulb is the top? Check out this post.
Frequently Asked Questions
How long does it take for elephant ear bulbs to wake up?
Most elephant ear bulbs begin sprouting within 3 to 8 weeks, depending on the variety, soil temperature, and growing conditions. Warm temperatures between 65°F and 75°F will encourage faster growth, while cooler conditions may delay sprouting.
Should I soak elephant ear bulbs before planting?
No, soaking elephant ear bulbs isn’t necessary. Healthy bulbs contain enough stored energy and moisture to begin growing on their own. Simply plant them in a well-draining potting mix, water thoroughly once, and keep them warm while they wake up.
What is the best temperature for waking up elephant ear bulbs?
Elephant ear bulbs sprout best when soil temperatures remain between 65°F and 75°F. If your home is cool, using a seedling heat mat can help warm the soil and encourage faster root and shoot development.
Can I start elephant ear bulbs indoors?
Yes! Starting elephant ear bulbs indoors is a great way to get a head start on the growing season. Plant the bulbs in containers about 4 to 8 weeks before your last expected spring frost, then move them outdoors after hardening them off once temperatures stay consistently warm.
How often should I water elephant ear bulbs?
Water thoroughly after planting, then allow the top inch or two of soil to dry before watering again. Dormant bulbs need much less water than actively growing plants. Once leaves emerge, keep the soil consistently moist but never soggy.
Why isn’t my elephant ear bulb sprouting?
If your elephant ear bulb isn’t growing, the most common causes are cool temperatures, overwatering, planting too deeply, or simply not waiting long enough. Many healthy bulbs spend several weeks developing roots before sending up their first leaves.
Which side of an elephant ear bulb goes up?
The pointed or smoother end of the bulb should face upward, while the flatter end with root scars should face downward. If you can’t tell which end is which, plant the bulb on its side, and it will usually orient itself correctly as it grows.
Can elephant ear bulbs survive winter?
Yes, but only in warmer climates. In colder growing zones, elephant ear bulbs should be dug up before the first hard frost, allowed to dry, and stored in a cool, dry place until spring. Gardeners in USDA Zones 8–11 can often leave many varieties in the ground year-round.
When can I move my elephant ear plants outdoors?
Wait until all danger of frost has passed and nighttime temperatures consistently stay above 50°F. Before planting outdoors, harden off your elephant ears by gradually exposing them to outdoor conditions over the course of 7 to 10 days.
Do elephant ear plants need fertilizer?
Yes. Once your elephant ear bulb has sprouted and begins producing leaves, feed it with a balanced liquid fertilizer every 2 to 4 weeks during the growing season. Avoid fertilizing dormant bulbs since they are not actively growing.
Waking up elephant ear bulbs is easier than many gardeners think. By planting them in well-draining soil, keeping them warm, providing bright light after they sprout, and watering carefully, you’ll be rewarded with beautiful tropical foliage all summer long. Whether you’re growing elephant ears in containers or in the garden, taking the time to start them indoors can give your plants a healthy head start on the season.
Want To Learn More?
IF YOU LIKE THIS POST
You might also like these:
- How to Overwinter Elephant Ear Plants
- Indoor Elephant Ear Plant Care Guide
- 5 Reasons Your Elephant Ear Bulb wont Grow
- How to Grow Huge Elephant Ear Plants
- How to wake up you Elephant Ear Bulbs
We’d love to hang out with you on our social channels. You can subscribe to our blog and find us on Facebook, Youtube, Instagram and Pinterest! Feel free to reach out if you have any plant questions!
DISCLOSURE
This blog post may contain affiliate links. Which means if you click on a link and go on to buy the product I recommend, I may get a small commission at no extra cost to you.
Thank you for your support. It means the world to us!

The Thrifted Planter
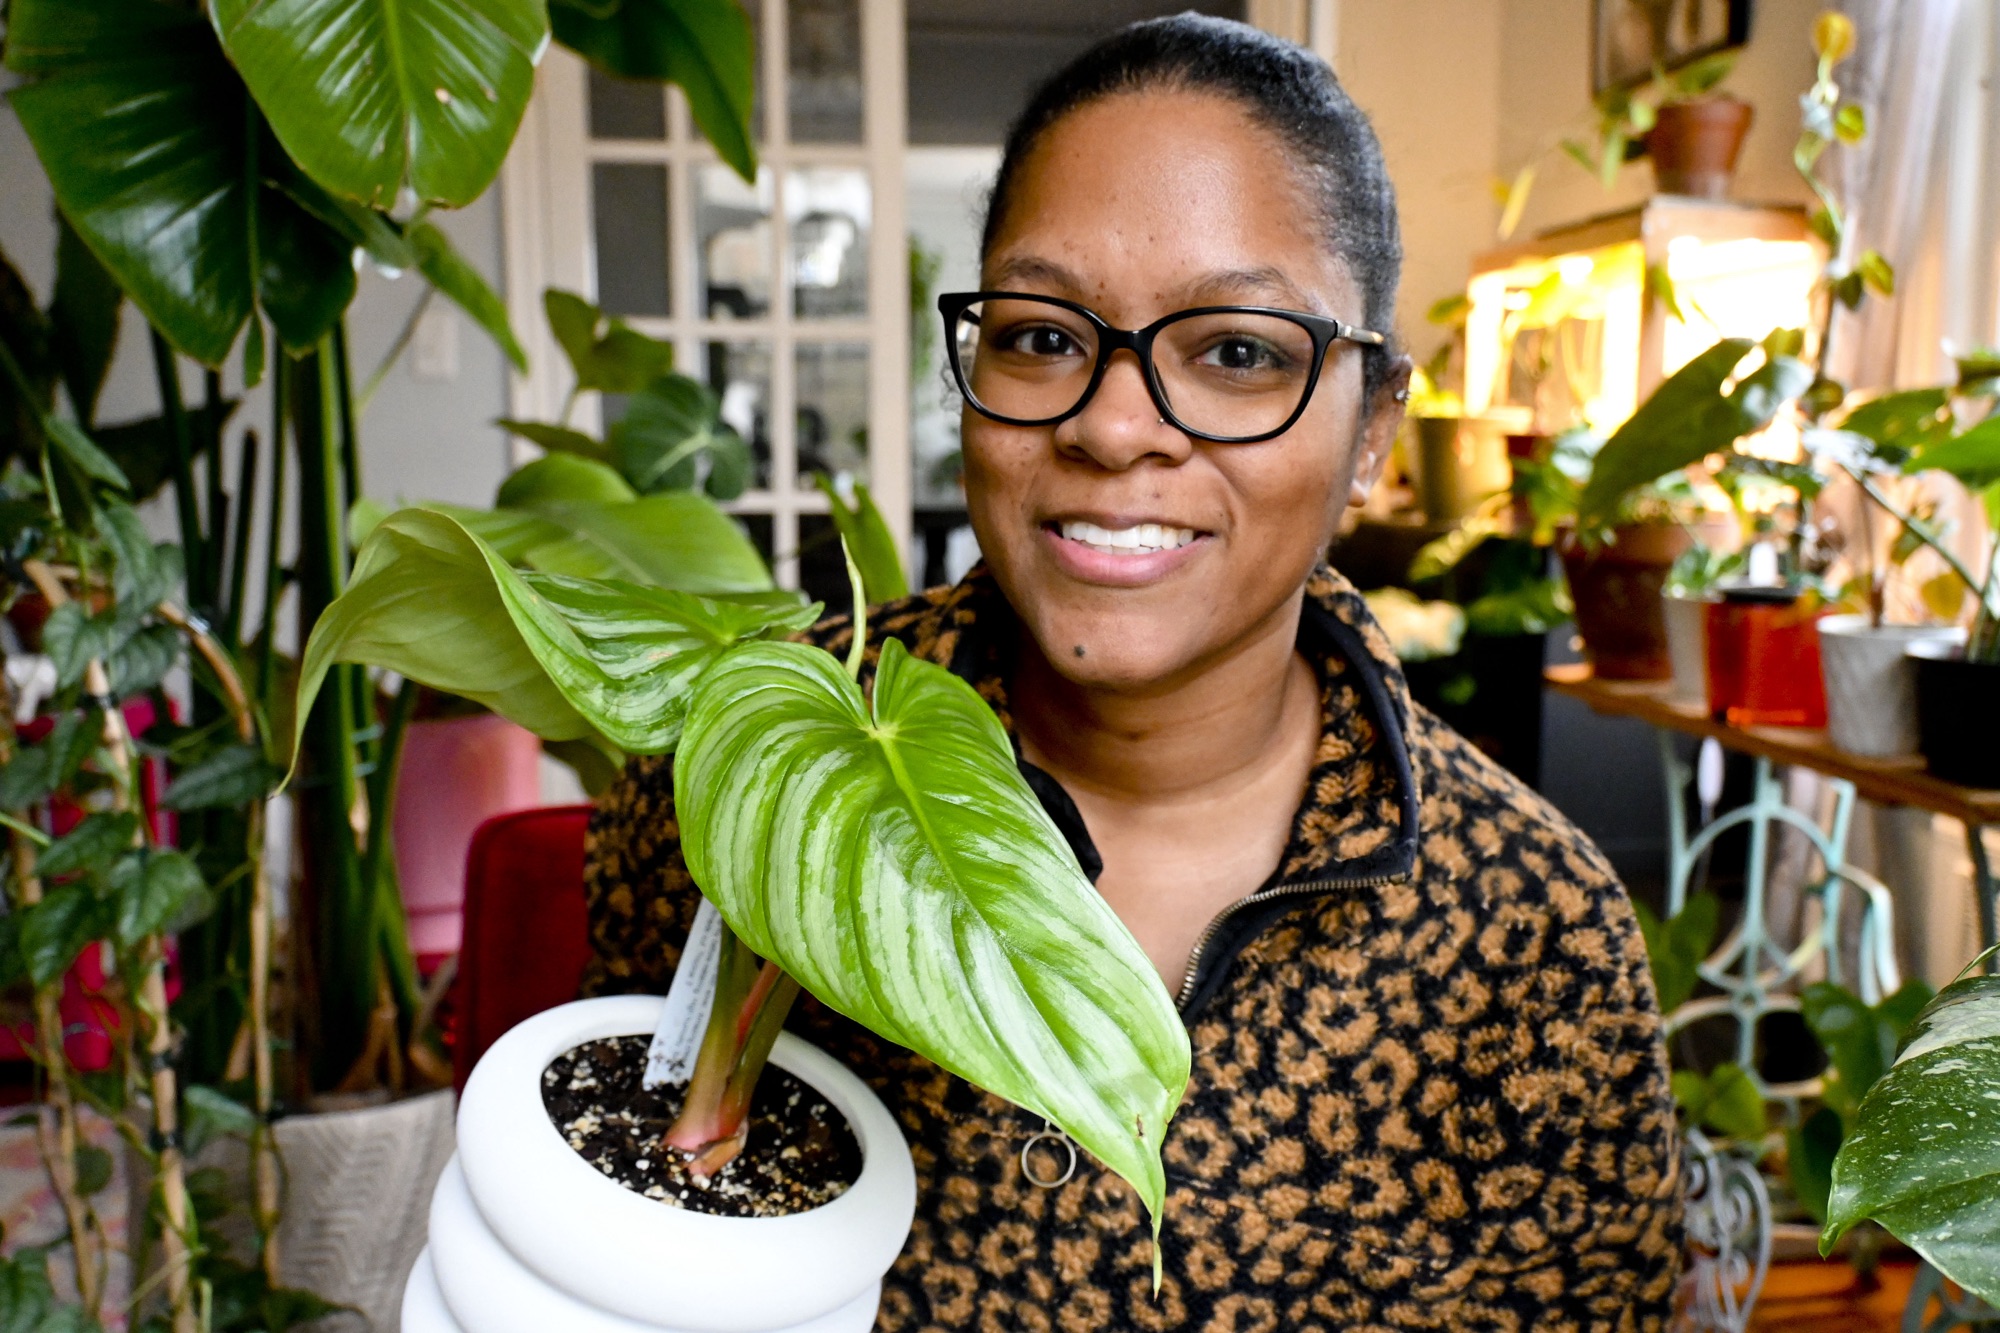
Ciearra is a gardener and houseplant enthusiast of over 10 years! She has been growing indoors and outdoors. Supplying food for her family and beautifying her home with annuals, perennials and houseplants! Ciearra is passionate about sharing her knowledge of plant care with anyone who needs help or a quick plant growth tip! When she’s not blogging you can find her tending to her chickens, dogs and hanging out with her family
3 responses to “How to wake up your Elephant Ear Bulbs (Complete Step-by-Step Guide)”
Leave a Reply
Nestera Chicken Coop

Botanical Interest
Garden Tower Project
Vego Gardens

Botanical Interests
Amazon Favorites!

Hoselink
Web Stories


[…] you need help getting your Elephant Ear Bulbs started, check out this post before you get your bulbs […]
[…] If you haven’t started your Elephant Ear bulbs yet check out this post first […]
[…] Read how to wake up your Elephant Ear Bulbs in spring here! […]